
Nine months later, I feel like I succeeded. Well, on the first group of Combine at least.
Let's go back to the beginning. Early in 2018, I contact a friend of mine Alex Winslow to see about getting some high quality 3D models made of the various Combine helmets - the Civil Protection (AKA the Metro Cops), the Combine Soldier, and the Combine Elite. After taking a ton of references from the game, pulling the game model and materials, and throwing in some of my own personal design ideas, Alex delivered these models to me.

They were perfect.
I immediately set out 3D printing the Civil Protection helmet, using a combination on FDM and SLA printing. For those of you who aren't familiar with those terms, FDM is the typical plastic printing that you see most people have in their homes or workshops. SLA printers are less common, although they are certainly gaining popularity. They use a UV curing liquid resin to print parts and the print quality is exponentially higher.

I used SLA printing on some of the incredibly fine details for the Metro Cop helmet, specifically the "ears" as well as the gas mask parts. The rest of the helmet was printed in ABS on my fleet of FDM printers. A couple days later, and I had the base helmet finished.
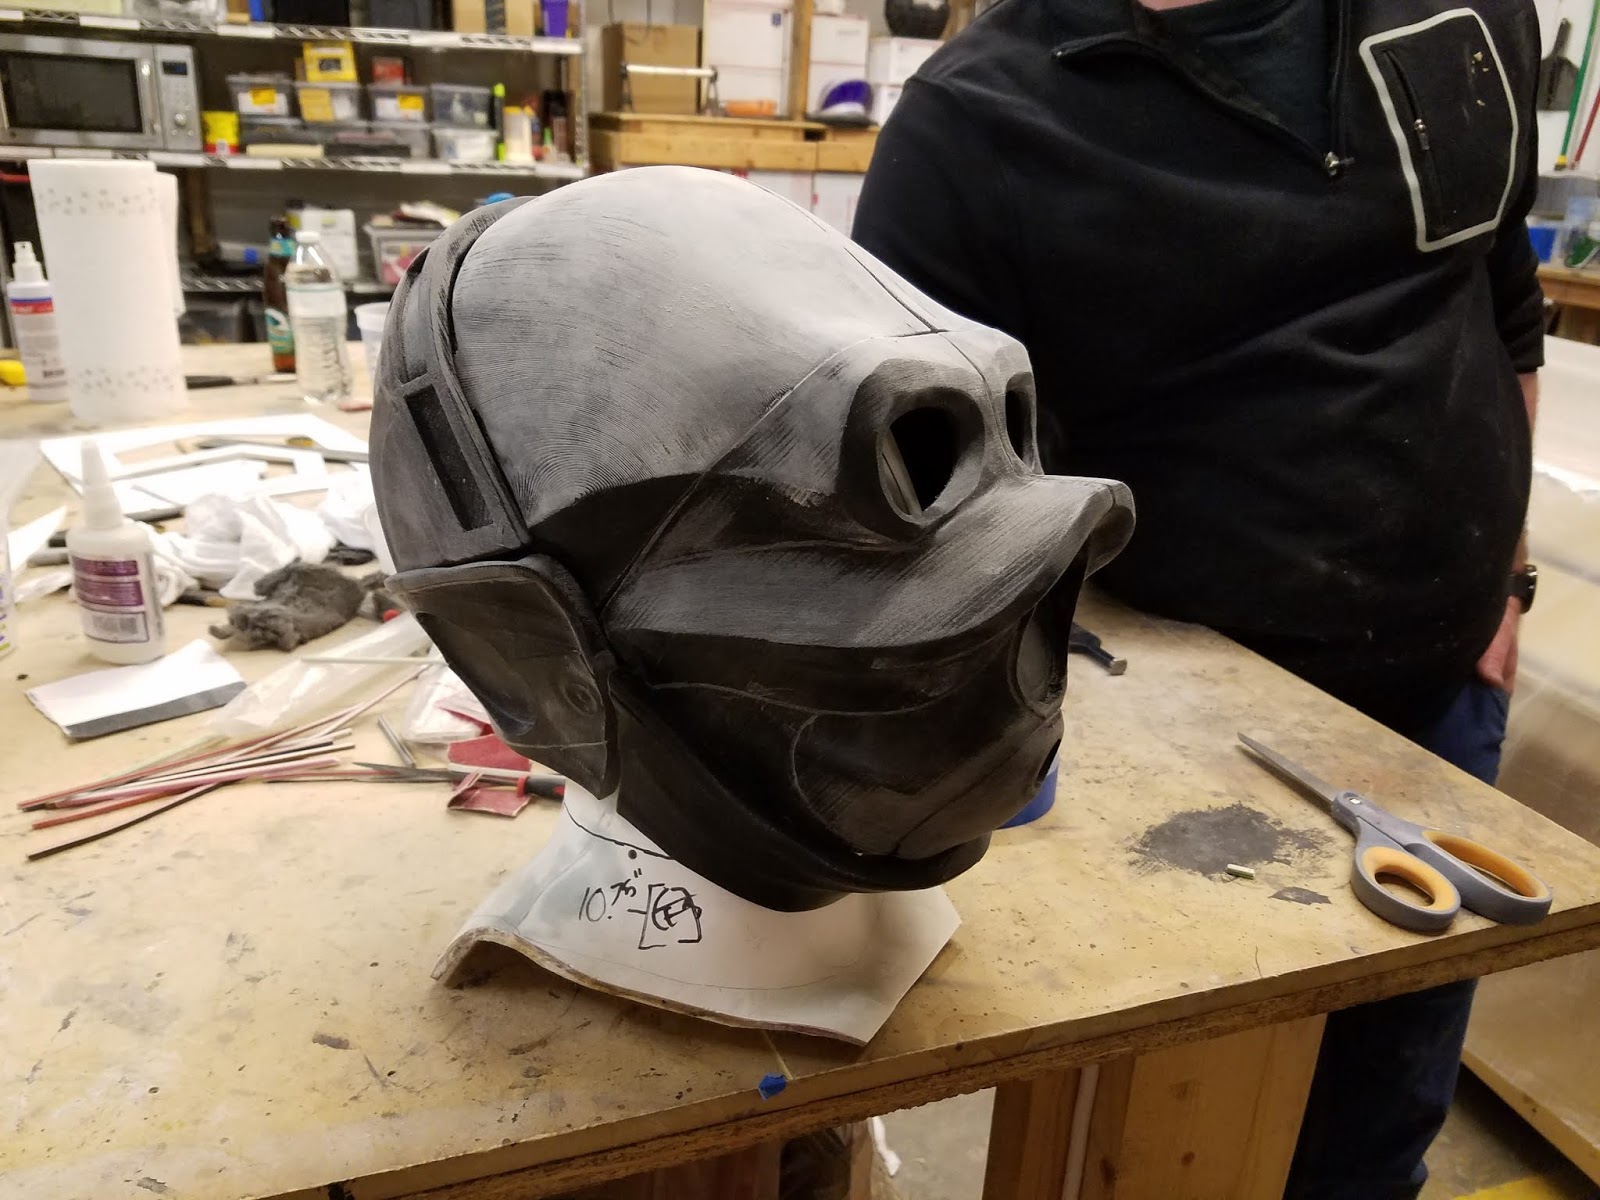
From here it was a typical round of body shop work on the helmet - sand the base print, apply filler primer to fill any remaining print lines, sand the primer down smooth, add spot putty to any left over imperfections. I knew I wanted to cold cast these helmets to give them a realistic metallic luster, so I also went ahead and applied a wet sandable automotive primer and wet sanded the helmet to a glossy finish.

Having gotten familiar with the limitations of FDM printing, I had planned from the beginning to use model making techniques to add in additional details, and use the 3D print as a base form. On the back of the helmet are these rib and dome detail sections. Rather than 3D model and print them, I used thin pieces of styrene tube and some half dome scrapbooking accents to add the details I needed. The result was exactly what I had hoped.

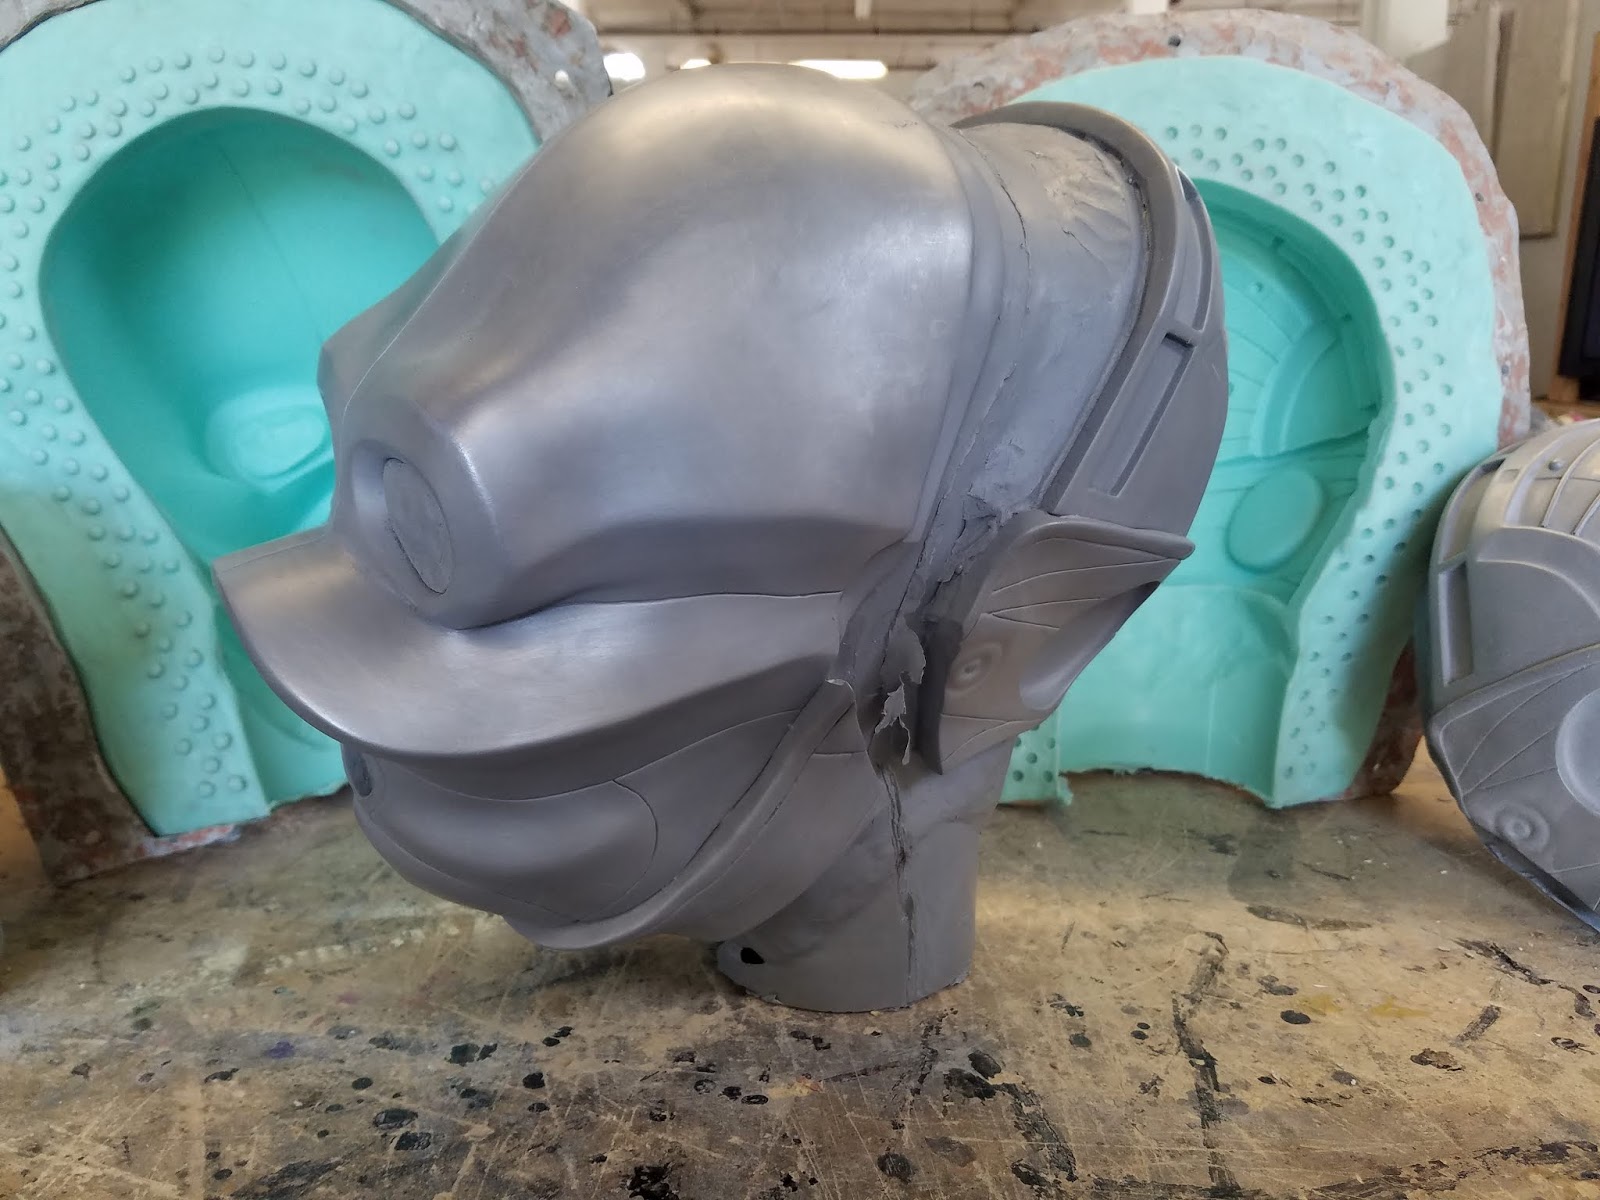
After several rounds of priming, sanding, and filling, the helmet was ready to mold. Having just one Metro Cop would be fun, but having a whole squadron of us would be even better. Molding and casting the helmet presented some challenges, since again I knew I wanted to cold cast the final helmets, which would limit where I could have seam lines. The helmet also has a very pronounced "duck bill", so the mold would be very deep and difficult to pull out from.

In the end, I opted to create a 2 part brushed on mold, with a 3 part mother mold. The 2 part mold would hide the seam between the 2 halves of the cast, and the 3 part mother mold would allow me to more easily remove the "duck bill" from the mother and the cast from the mold.


Several days later, the mold was finished and the first test cast came out flawlessly, I started production on the run of the helmets. The helmets were made by first brushing in a coat of aluminum powder to give the cold cast metallic effect, and then by mixing and pouring several small batches of roto casting resin (Smooth Cast 65D from Smooth-On). A final coat of more rigid resin (Smooth Cast Onyx from Smooth-On) was applied last, to help the helmets avoid warping over time as 65D has a tendency to do.
The detail parts that were printed on the SLA printers needed nearly no cleanup, and so went straight to silicone. These were created using simple 2 part block molds, and would be cast solid. The ears were cast in a semi-translucent resin (Smooth Cast 326 from Smooth-On) with a small amount of green tint added. The ears in the game give off a faint glow, so I wanted these to be translucent so that I could back light them once installed in the final helmets. The gas mask details were also cold cast with aluminum powder and a regular casting resin (Smooth Cast 300 from Smooth-On).


With all of the casting was complete, the set of them were cleaned of their flashing and excess resin (such as where the lenses needed to go) using a rotary tool. The "neck seal" of the helmets were masked off using masking tape and plastic wrap, then painted in a flat black. The lenses were created using some smoked acrylic that I had on hand in the shop, cut in to shape and glued in to place using cyanoacrylate glue. The gas mask and ear details were fitted and glued in to place using epoxy. The helmet fronts and backs were attached together using velcro along the ridge line, where the front seats underneath the back.


Lastly, the helmets were given a wash in watered down black and brown acrylic paint, which was then quickly wiped away, leaving grime and dirt in the recessed areas. Then the helmets were polished using #000 steel wool, which brought the metallic luster of the helmets to life. It's actually incredible how different lighting conditions can make the helmets look completely different from one photo to another.


I was very happy with how they turned out, and I really felt like I had brought the Civil Protection to life with this build.
After the helmets, it was on to all of the weapons and accessories.
More from this build:
Part 1: Helmets
Part 2: Weapons and Accessories
Part 3: Fabric Parts and Final Reveal
Watch the build documentary on YouTube